
This walkthrough builds a small but complete application from nothing: an Accounts list that your colleagues can open, read, and add to.
Each step is introduced only briefly here. Detailed configuration instructions are available in the dedicated documentation sections.
Before you start #
You need an Auclio account with tenant administrator permissions. Only a tenant administrator can create an application; pages, widgets, and datasets additionally require administrator rights on the application that owns them. Both checks run on the server, not only in the interface. If the New application button does not appear on the tenant homepage, ask your tenant administrator to grant you the required role.
You do not need an external system for this walkthrough. Auclio creates a built-in connection with every new application, and the dataset you build here will use it.
Before you begin, decide what one object in your application represents. In this walkthrough, one object is one company you do business with.
Create a blank application #
To create a blank application:
- Open your Auclio tenant.
- Select New application.
- Choose Blank application.
- Enter
Customer managementin Application name. - Add a short description.
- Choose an icon and a colour preset.
- Select Create.
Auclio creates an empty application and adds it to the homepage.
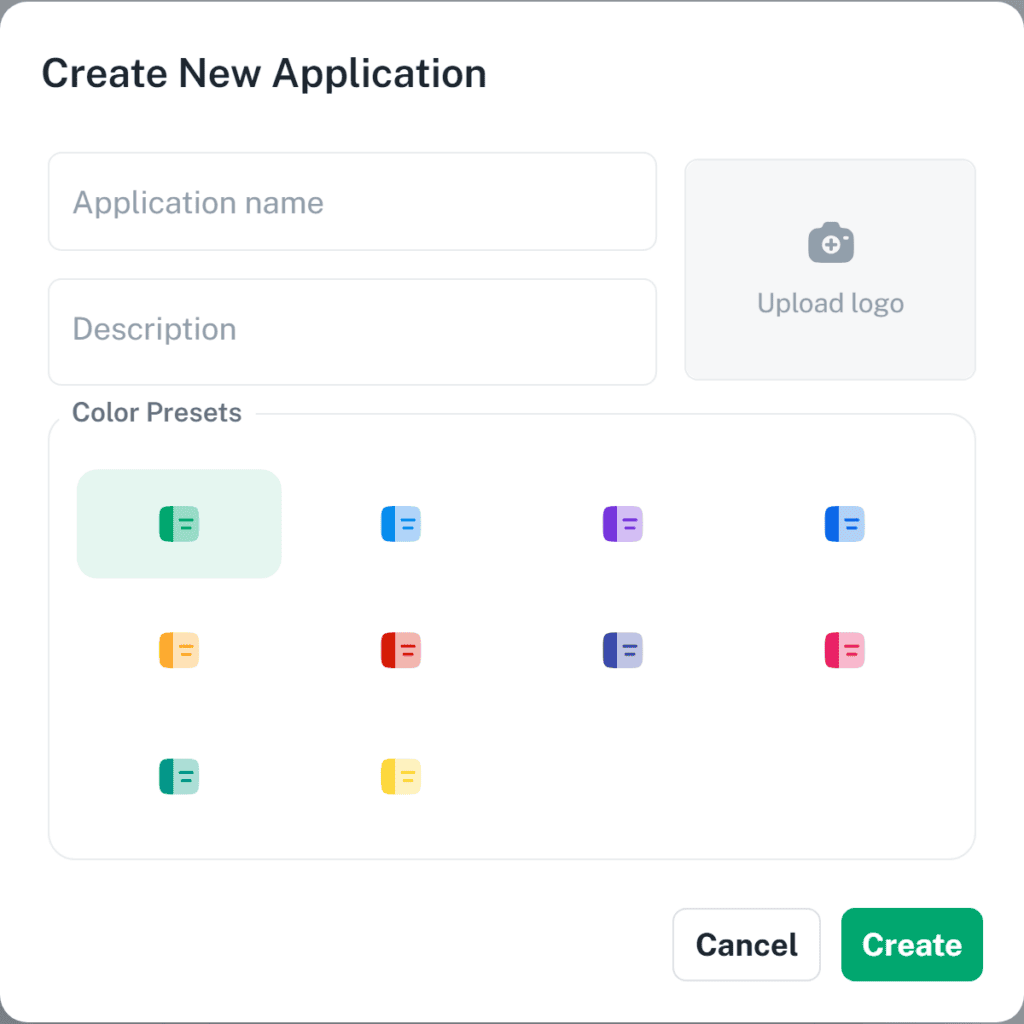
Select the new card to open the application. It opens on an empty page, because it does not have any pages yet.
To create an application with AI or to import an app, check: Applications.
Add the first page #
Pages are added in layout edit mode.
To add the first page:
- Select the layout edit icon in the top-right corner to enable Layout edit mode.
- Select Add new page above the navigation on the left.
- Enter
Accountsin Page title. - Choose an icon for the page.
- Leave Parent page empty so the page sits at the top level.
- Select Create.
Auclio creates the page and opens it. It is empty, and it now appears in the navigation on the left.
Leave layout edit mode on. You need it for the next steps.
Create the first dataset #
A page has nothing to show until a dataset exists, so build the dataset next.
To create the first dataset:
- Select the settings icon in the top-right corner to open Application settings.
- Open Datasets.
- Select Create dataset, then choose Blank dataset.
- On the Dataset step, leave External connection switched off so the objects are stored in Auclio, and enter
Accountsin Dataset title. - Select Next to reach the Properties step.
- Select Add Property and create the properties described below.
- Select Next to reach the File Properties step, and leave Allow Files switched off.
- Select Create.
Add four properties to start with:
Account name— data type String, with Required and Name ticked;Country— data type String;Industry— data type String;Customer— data type Boolean.
Every dataset needs exactly one property marked Name. That is the property Auclio uses to label an object wherever it appears, so choose the one a person would read first. Ticking Name also makes the property required.
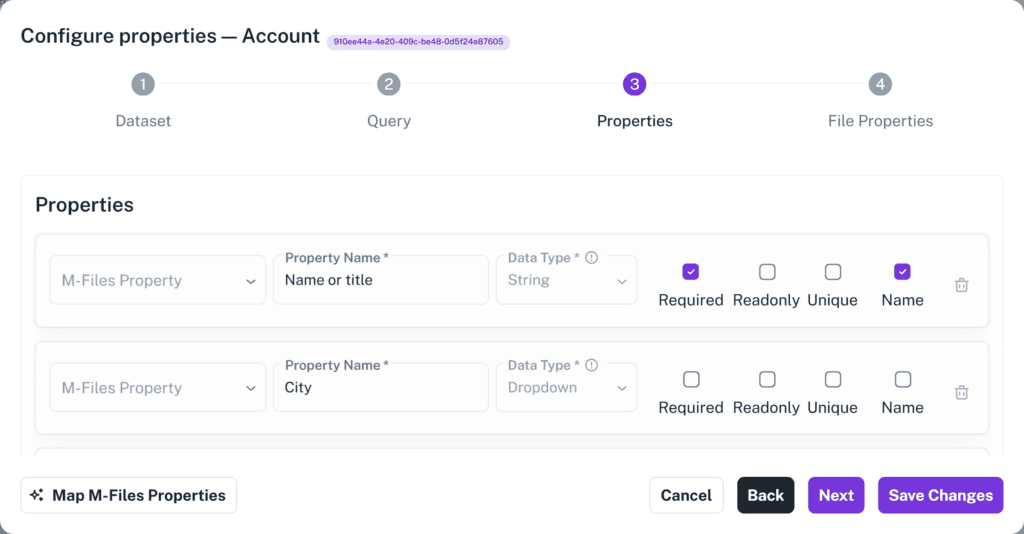
After saving, Auclio offers to add objects straight away. Add two or three example accounts now, so you have something to look at on the page. You can also skip this step and add objects later.
See Create a dataset and Manage properties for detailed instructions on data types, required properties, default values, and file settings.
Add the first widget #
Widgets are what users actually see and use. A Table widget is the natural choice for a list of accounts.
To add the first widget:
- Return to the Accounts page.
- Confirm that Layout edit mode is still enabled.
- Select Add a widget in the toolbar at the top of the page.
- Select the Table tile, or drag it onto the page where you want it.
- Enter
Accountsin Widget Title.
The widget configuration opens as a series of steps. Leave the settings on the first step as they are for now, and continue to the data source.
Connect the dataset to a widget #
A widget shows nothing until it is told which dataset to read.
To connect the dataset:
- Move to the Data Source step.
- Leave Use External Connection switched off. Auclio then uses the application’s built-in connection and lists the datasets stored in it, so no Connection field appears.
- Select
Accountsin Dataset. - Select Next to reach the Columns step.
- Select Add Column for each property you want to show, and set its Column Label and Dataset Field.
- Select Next through the Table Properties and File Management steps, leaving their defaults as they are.
- Select Create.
Auclio adds the widget to the page and fills it with the objects from the dataset.
Drag the widget by its header to move it, and drag its bottom-right corner to resize it. When the layout looks right, select the save icon in the toolbar to Save page layout changes.
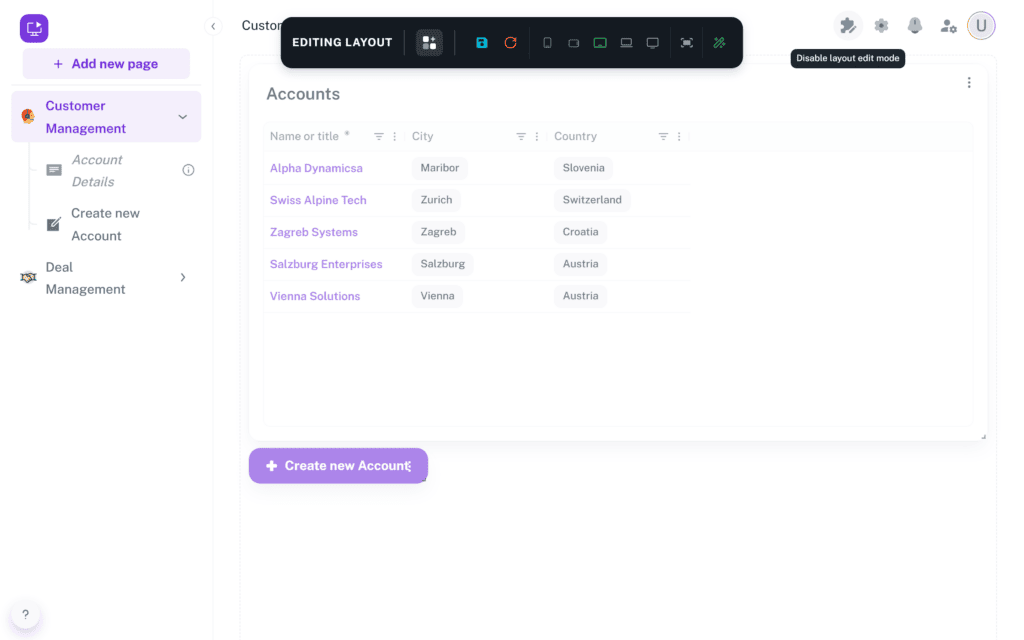
See Widgets for detailed instructions on each widget type and its available settings.
Configure basic access #
A new application is not automatically available to your colleagues. Access is granted with a permission rule.
To give a group of users access:
- Open Application settings.
- Open Permissions.
- Open the Access lists tab and select Create access list.
- Enter a name such as
Customer management readersin Name. - Add the users or groups who need access in Subjects.
- Tick Read, and tick Modify as well if they should be able to add and edit accounts.
- Select Create.
- Open the Rules tab and select Create rule.
- Set Resource type to Application and select
Customer managementin Entity. - Add the access list under Self NACLs so those users can open the application itself, and under Children NACLs so it cascades to the pages and widgets inside.
- Select Create.
Auclio grants access the next time those users open the tenant.
A cascade reaches one level only, and a dataset hangs off its connection rather than off the application, so this rule alone does not let anyone read the accounts. Add a second rule on the built-in Local connection with the same access list under Children NACLs to reach the Accounts dataset, and a third rule on the Accounts dataset to reach its objects.
Permissions use four flags: Read, Modify, Delete, and Create. Create is separate from Modify — the ability to create an object comes from a Create grant that cascades to children, so someone who can edit accounts cannot necessarily add them.
See Understanding permissions and Configure permissions for detailed instructions on rules, access lists, groups, and object-level access.
Test the application #
Always check an application the way a user will see it, not the way you built it.
To test the application:
- Disable Layout edit mode.
- Open the Accounts page.
- Confirm the table lists your example objects.
- Add a new account and confirm it is saved.
- Edit a value and confirm the change appears.
- Ask a colleague with the access you granted to open the application and repeat these checks (as an administrator, you bypass permission checks, so an application can look correct to you and be invisible to others).
Where to find more detailed instructions #
Your application now has the basic structure needed for further configuration.
- See Applications for detailed instructions on application settings, importing, exporting, and managing applications.
- See Pages for detailed instructions on page settings, navigation, details pages, and page organization.
- See Widgets for detailed instructions for each widget type and its available settings.
- See Datasets for detailed instructions on properties, objects, relationships, data types, and data management.
- See Connections for detailed instructions on available connection types, M-Files connectivity, and connection troubleshooting.
- See Users and permissions for detailed instructions on users, groups, application access, and permission rules.
- See Workflows for detailed instructions on moving objects through the states of your process.
